


Switching to solar isn’t just about saving money on your electric bill, but about taking control of your energy. And with modern microinverter solar kits, you don’t need a background in electrical engineering or construction to make that happen.
These kits are built with beginners in mind. If you’re someone who can handle a power drill and follow instructions carefully, you’re already halfway there.
Let’s break down how you can set up your own microinverter solar system without having to hire a full crew or study wiring diagrams for weeks.
Microinverter Solar Kit In a Nutshell
Before jumping on the roof, it helps to know what you’re working with.
A microinverter solar kit is a complete home solar system, packed with everything needed to generate your own electricity.
The key feature is the microinverter, a small device installed behind each panel that converts solar power from direct current (DC) to alternating current (AC) right at the source. That’s a game changer for ease of use.
Here’s what usually comes in a standard kit:
| Component | Function |
| Solar Panels | Capture sunlight and generate DC electricity. |
| Microinverters | Convert DC to AC on each panel individually. |
| Racking System | Rails and brackets to mount panels securely to your roof or ground. |
| Wiring & Connectors | Links the system together and connects it to your home’s electrical box. |
| Monitoring System | Lets you view energy production panel by panel, often via an app. |
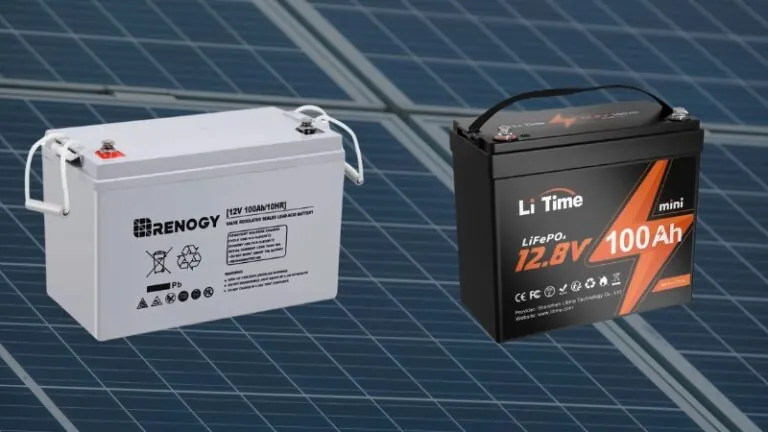
Many kits now integrate seamlessly with an all‑in‑one home solar system that combines panels, microinverters, and battery backup.
Installing Your Solar Kit Step-by-Step
You don’t have to rush. Tackle one phase at a time and don’t skip the prep.
Step 1: Get Your Site and Paperwork in Order
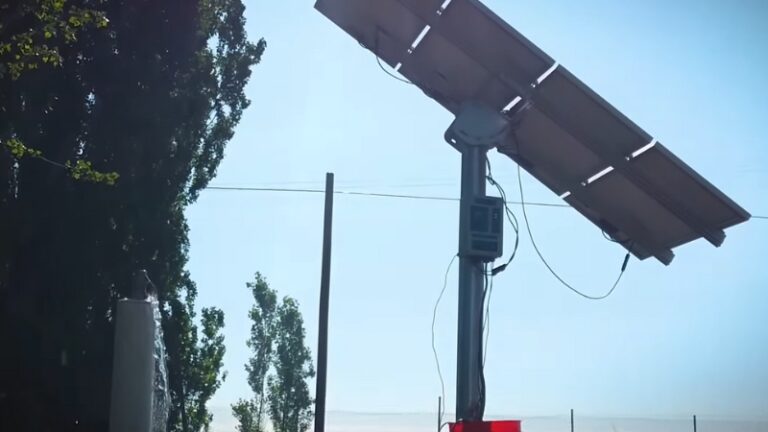
Evaluate Your Roof

- Direction: South-facing is optimal in North America.
- Angle: Somewhere between 30° and 45° is ideal.
- Shading: Trees, chimneys, and nearby buildings can lower your output. Use online tools or a sun path app to get a sense of exposure throughout the day.
- Condition: If your roof is nearing the end of its life, it’s smart to replace or repair it before adding 25+ years’ worth of equipment on top.
Calculate Your Energy Needs
Look at a year’s worth of power bills. How much electricity do you use in kilowatt-hours (kWh)?
A 6kW system might produce 9,000–10,000 kWh annually depending on your location, while larger homes might need an 8kW or even 15kW kit.
Check Rules and Permits
- Call your electric utility to check if you need a smart meter or permission to feed power back into the grid.
- File a permit with your city or county for solar panel installation.
- Don’t skip this – non-compliance can cause headaches later if you try to sell the house or claim tax incentives.
Step 2: Think Safety First
Working at heights and dealing with electricity requires respect and planning. Here’s what to have on hand:
- Safety harness and roof anchor
- Non-slip shoes
- Weatherproof gloves
- Tool lanyards (especially useful on sloped roofs)
- Opaque tarp or cardboard to cover solar panels while working (they start generating electricity as soon as the sun hits them)
And most importantly: Don’t work alone.
Step 3: Mounting the Racking System
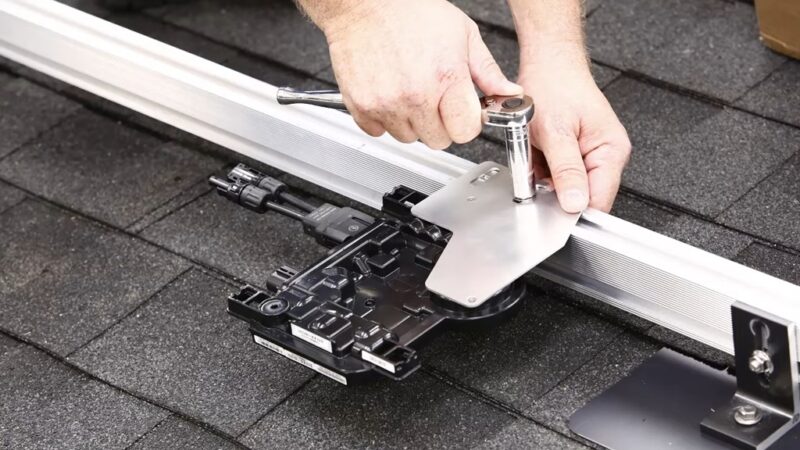
The racking holds everything in place, so getting this right matters.
Brackets First
- Find your roof trusses using a stud finder.
- Drill pilot holes and secure the mounting brackets using lag bolts.
- Use waterproof sealant on every hole – no one wants a leaky roof.
Rails Second
- Attach the aluminum or stainless-steel rails to your brackets.
- Use a level to make sure they’re straight.
- Double-check your spacing based on your panel dimensions (usually 65 inches apart for standard-sized panels).
Step 4: Install Microinverters
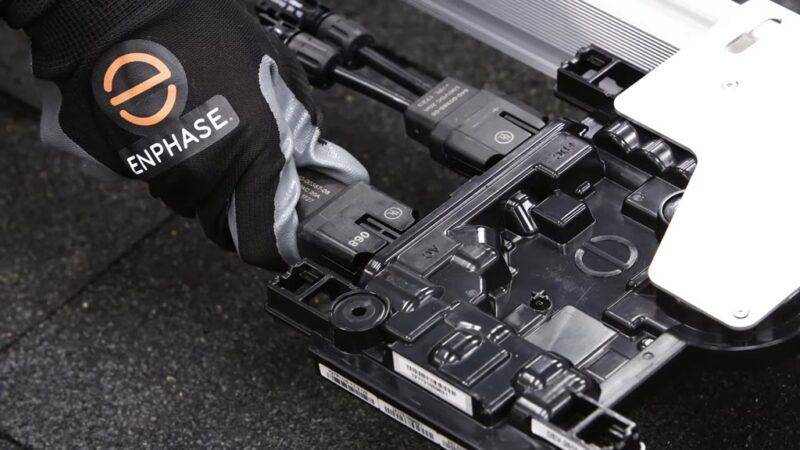
Microinverters are small, but they pack a lot of tech. Here’s how to mount and connect them properly.
Position and Secure
- Bolt microinverters onto the rails under where each panel will go.
- Models like the Enphase IQ8 come with grounding washers – these pierce the aluminum for a reliable ground connection.
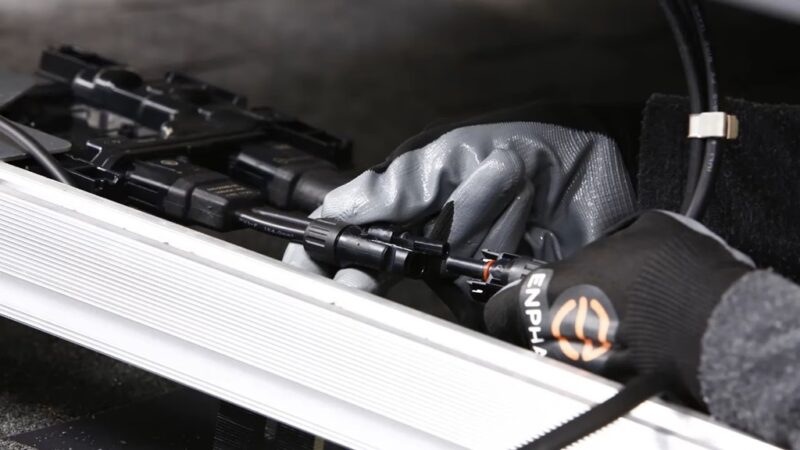
Connect the Inverters
- Link them together with the daisy-chain trunk cable.
- Secure everything with UV-resistant cable ties.
- Run a ground wire and attach it to the rail using grounding lugs.
If rain is a possibility, temporarily cover the microinverters with plastic bags until panels are mounted.
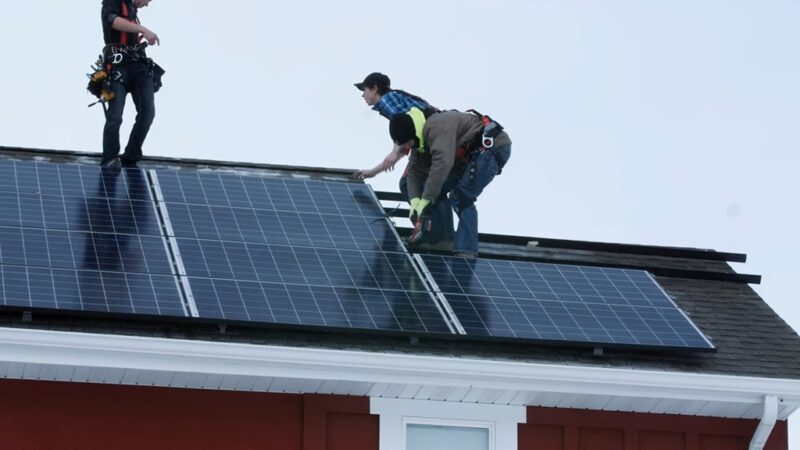
Step 5: Place and Connect Solar Panels
Now the fun part – actually putting up the panels.
Lifting Safely
- Rope systems or clamp grips (like G-clamps or suction lifters) help a lot here.
- For steep roofs, a temp bolt and carabiner setup on the frame gives you extra security.
Mounting Panels
- Align each panel on the rails and secure them with clamps.
- Make sure the grounding teeth or sharps are engaged – this keeps everything properly bonded.
Connect to Microinverters
- Plug each panel into its corresponding microinverter.
- Pay attention to polarity: positive goes to positive, negative to negative.
- Label as you go so you can track which panel is which in the monitoring system later.
Step 6: Electrical Connections
Unless you’re experienced or licensed, this part might be better left to a professional. But it helps to know what’s happening.
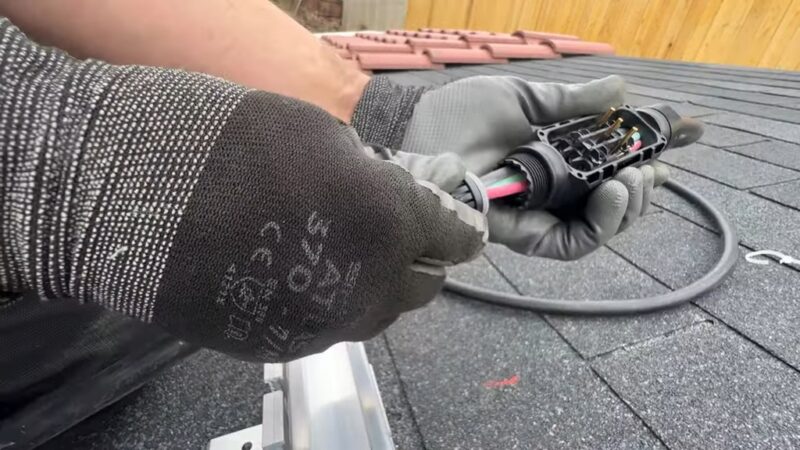
Junction Box Setup
- Connect the microinverter cable to the junction box.
- Match color-coded wires: black and red for hot (L1 and L2), white for neutral, green or bare for ground.
Disconnect Switch
- The switch gives you a safe way to turn the system off.
- Connect it between the junction box and your main electrical panel.
Tie-In to Electrical Panel
- Turn off the main breaker.
- Wire the disconnect switch into a dedicated circuit breaker slot.
- Make sure grounding and neutral are properly placed on the respective bus bars.
You’re almost there. It’s time to see some sunshine get turned into power. If you’re still wondering whether microinverter kits are a good fit, consider what they solve:Step 7: Test and Monitor
Testing
Activate Monitoring
Inspection and Approval
Why Microinverters Are Great for Beginners
Tips If You’re Still a Bit Hesitant
What’s New in 2025?
Technology is getting smarter and lighter.
- Hoymiles MiS series weighs under 2.5 lbs – less strain during installation.
- Enphase IQ8 and IQ9 now feature higher domestic content, which may qualify for bonus tax credits.
- Monitoring tools are more user-friendly, offering voice assistant integration and push notifications.
Final Thoughts
Installing a microinverter solar kit on your own roof is no longer just for hardcore DIYers or solar professionals.
With modern kits, clear instructions, and a bit of patience, it’s absolutely possible to set up a fully functional solar power system without any prior experience.
Start slow, stay safe, and double-check each step. When you flip the switch and see your panels start feeding power into your home, there’s nothing quite like it.